

I adore making Kanzashi flowers using the Clover flower makers. Admittedly I haven’t tried making them without the maker but I’m really happy with how easy they are to make this way.
I demonstrate this a lot at the shop so I thought that I would post it on the blog so more people can see how easy this is to do. There are many videos on how to do this but I have chosen to show you using images so you can go at your own pace.
There are 5 different styles of flower you can make with the makers and 3 different sizes for each style.

I’m going to show you how to make the round petal but the same method applies to each style of petal.

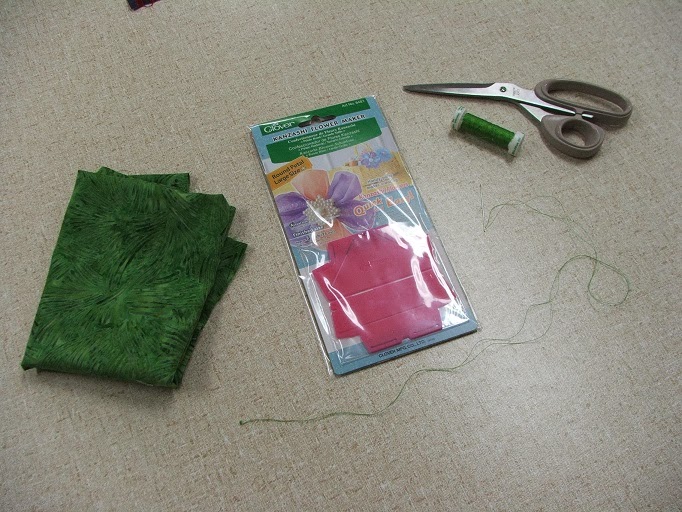
Fabric, Clover maker, needle, thread and scissors.

On one side of your flower maker there will be numbers and a start and finish. These indicate the sequence in which you will stitch. This is the outside of the maker. Cut a square of fabric larger than the size of your opened maker.

Ensure your fabric is wrong sides together as you fold it in half and placing inside the maker. The fold of the fabric should be in the fold of the maker. The maker will clip together holding the fabric in place.

Using your scissors clip the excess fabric from around the maker.

With your needle threaded and a knot at the end of the thread, put your in at the start position. I see this as the back of the maker when it is folded so flip is over to the front.

Your needle will come up the number 1 slot on the front.

Find the 2 and put the needle into the slot.

Continue bringing your needle up and down as your go through the numbers in order.

Your needle will exit through the finish on the back of the maker.

Remove the maker from the fabric when you have finished stitching.

Pull the fabric towards the knot forming a petal. You may need to manipulate the fabric to form the shape of the petal. Do not cut your thread, you will continue to make all of the petals on this length of thread.

Leaving space between the petal just formed, commence your next petal.

Remove the maker.

Push down this last petal stitch to the first petal and shape.

Keep going forming each petal.

When you are happy with how many petals you have……

Turn your flower over to the back and insert your needle into the first petal.

Make a knot and cut your thread.

Turn back over and shape your petals into your flower.

Add a button or similar to the centre.
Finish off the back by covering the hole with fabric. Stitch on a brooch back, hair clip or straight onto your item. These are gorgeous accessories!
Here is a Pointed petal Kanzashi flower made using all 3 sizes with a button glued in front.

Give it a go. They are simple, fun and fast to make. You won’t want to stop at one!
Happy Stitching! Kimz Team x