2015 Park Bench BOM

Last years Block of the Month was the lovely Park Bench quilt designed by Jaybird Quilts.  Each month we created a hexagon block using Jaybirds Hex N More and Sidekick rulers.  These blocks were fantastic as they had no Y-seams making piecing painless.


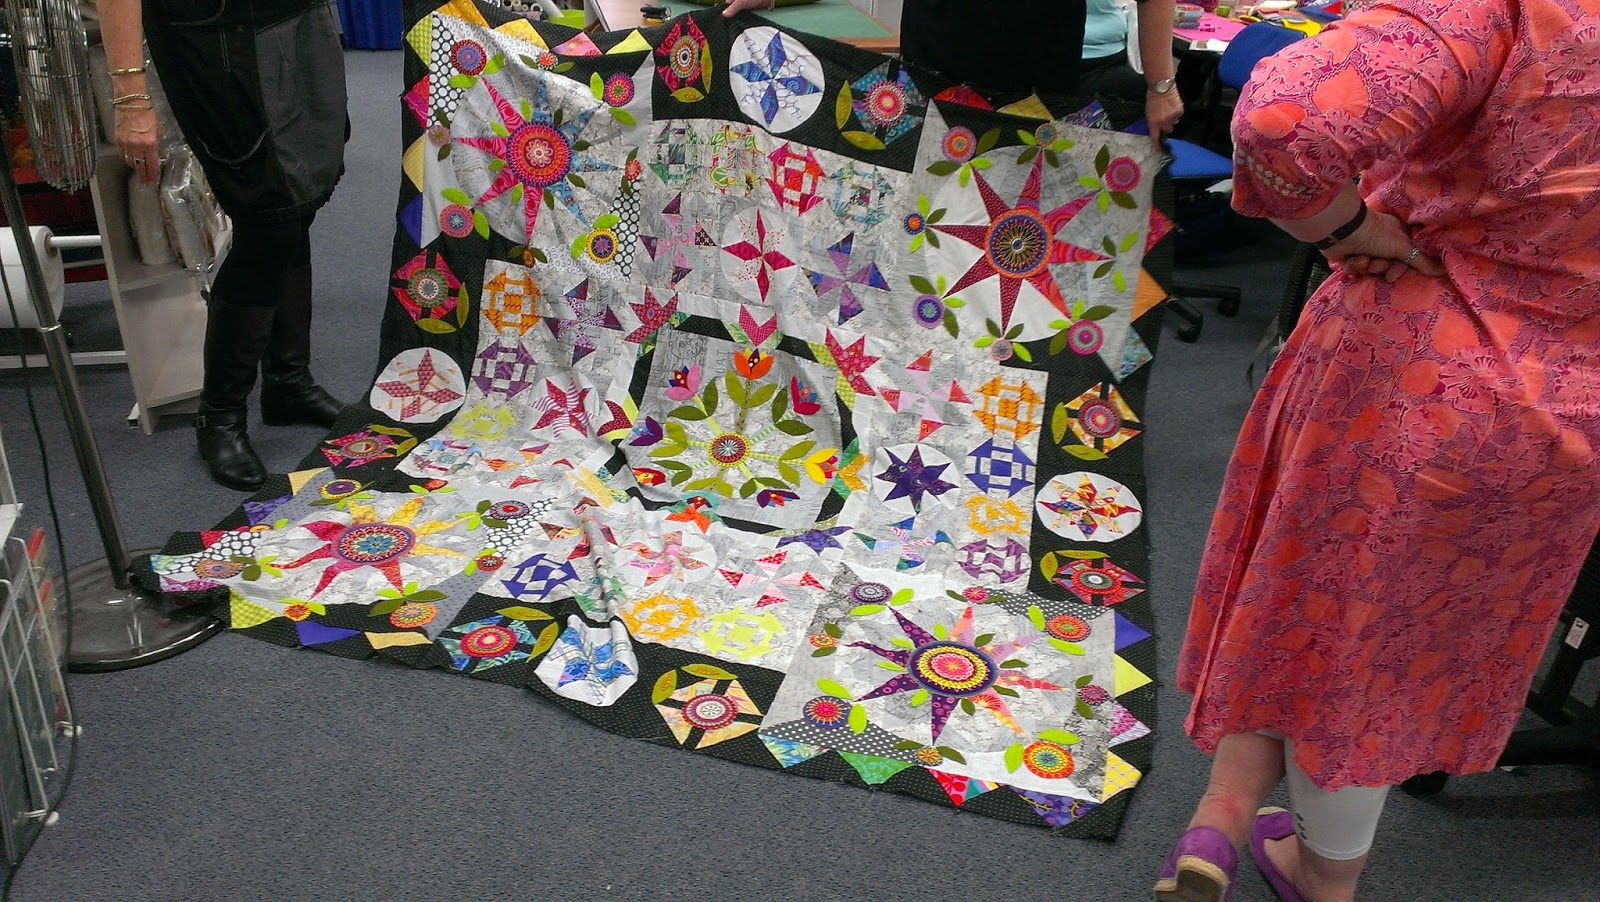
Here are some of the finished quilts from our ladies who Park Benched with us.

Libby made her Park Bench using Tula Pink fabrics.

 Patsy made two Park Bench quilts.  The above with a select collect palette.

The second of Patsy’s Park Bench quilts has a different layout and she has used batik fabrics.

Pam made her Park Bench quilt a little shorter. 

Angela also made 2 Park Bench quilts.  This one is her eclectic with grey.

Barbara also shortened her quilt and used a blue and brown colour palette.
(There are a few quilts still to come as some of our ladies are still finishing them off ,so I will update with those as they come in)

Happy Stitching! Kimz Team x

Built In Bunting

 The Janome Memory Craft 500E is full of fantastic built in embroidery designs including bunting.  That’s right… I said bunting.  I decided to have a little play and here’s how I went….

I combined the bunting design with lettering that is also built in to the machine making it a very simply proces.

Here they are.  Ready to be made into bunting for our display.

This was so much fun.  Instructions are included in the manual that comes with the machine to put your embroidered bunting together.


Happy Stitching! Kimz Team x

Where The Cool Kids Go

School holidays mean kids sewing classes and we were super impressed with the enthusiasm of 8 young sewers who came along to Kimz eager to sew.

Rhonda had our sewers making the above funky coaster and placemat which involved them sewing straight lines, changing threads, using decorative stitches and quilting.

Our kids were hard at work for 3 hours stitching.

 Well done to all of our sewers who came along and completed their placemat and coaster.  We can’t wait to see you all again for our next school holiday kids sewing class.


Happy Stitching! Kimz Team x

Round The Garden With Wendy Williams

What a pleasure to have the delightful Wendy Williams from Flying Fish Kits come back to Kimz for another wonderful wool felt applique workshop.  We had 10 ladies join in on the fun on getting started with their very own Round the Garden quilt.  Over the 2 day workshop the ladies learnt lots of techniques and got a great start on their linen backgrounds.  Below are some pics from the class as well as some close ups of Wendy’s work.

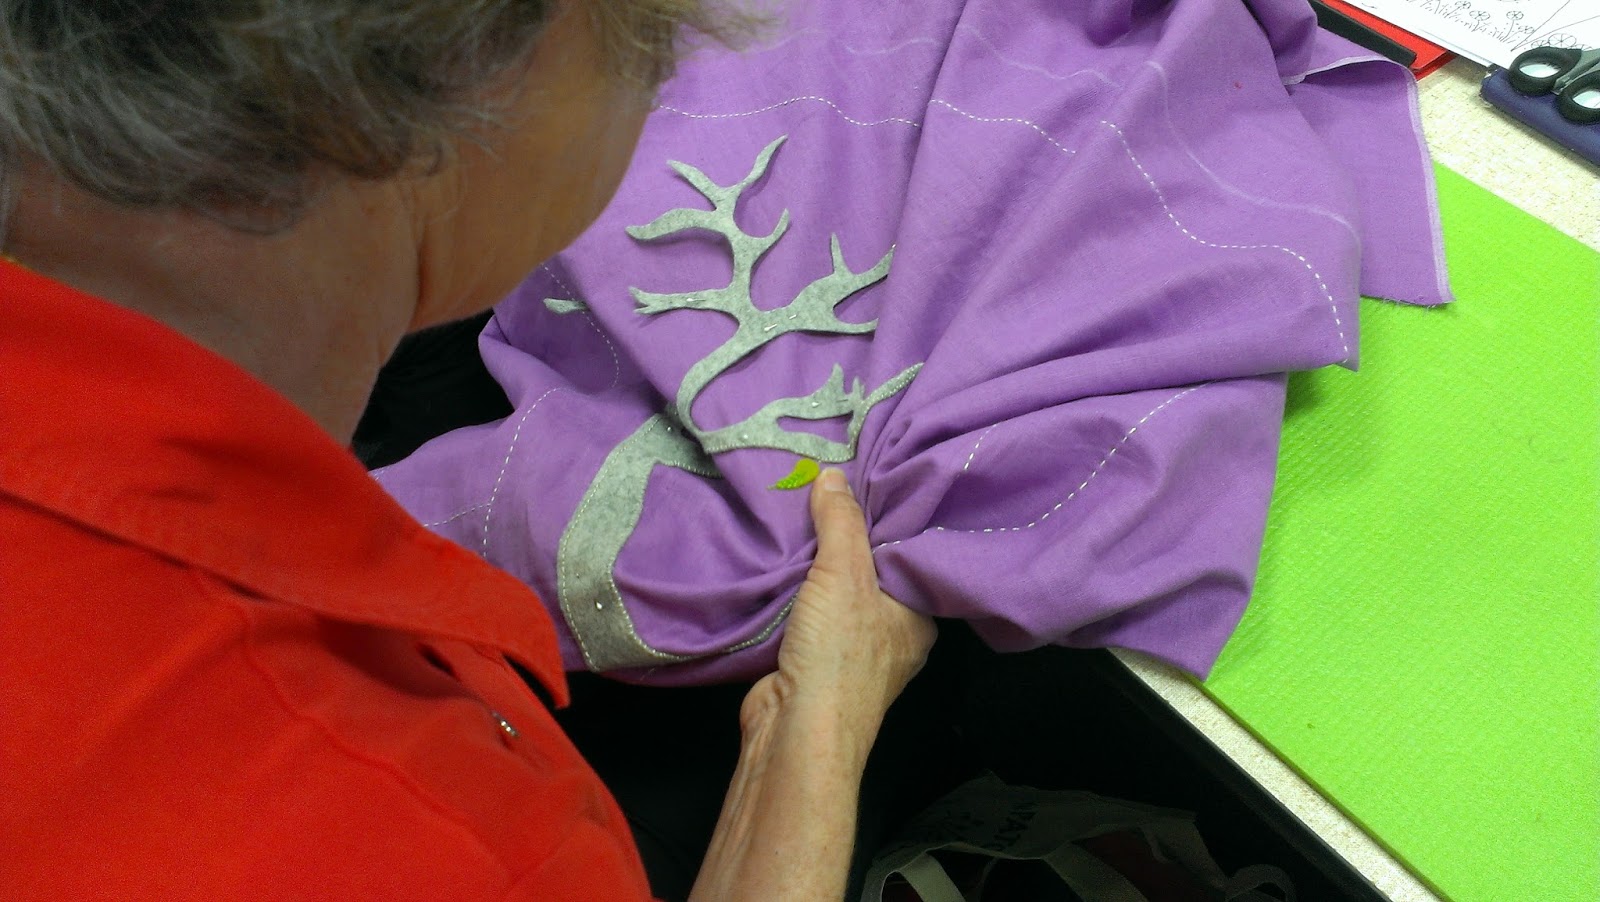
Appliqueing the felt tree


Below is some eye candy from samples Wendy brought along with her.

Sandra dropped in to show Wendy a quilt she has made using Wendy’s pattern Cat’s Away

A huge thank you to Wendy for coming back to us with this excellent workshop.  We hope to have you back soon.

Thread Flower Tutorial

Here is a fun little Thread Flower for you to try.  They are simple, fun and can adorn just about anything you desire.

 You will need the following to make Thread Flowers:

An assortment of threads (variegated and metallic look great)  and if you have one, a Thread Stand will make this task all the more smoother.

A washer and a brooch back.  Your BSR foot for your Bernina machine (for other brands, use your darning foot).
Not shown but required are a Stanley knife, a business card with hole slightly larger than the washer size, sticky tape, your sewing machine and needle and thread to attach the brooch back.

Take your washer in one hand and your threads in the other. 

While holding onto your washer also hold onto the start of your threads you are using.  With your other hand start to wrap the threads around the washer.

Rhonda is super quick at these (I couldn’t get a clear picture as she is lightning fast)

You should have something that looks like this.  

 Tape your flower into the middle of a business card securing your thread ends.  This makes your flower easier to handle under your machine.

Using your BSR foot (or darning foot) decrease your foot pressure and stitch in circular motions securing the threads in the centre of the flower.

Your centre should look similar to this one above.

Now using your Stanley knife, cut the thread around the edge of the washer.  You may like to use two washers instead of one to run the knife in between when cutting the threads. 

Remove your flower.  The washer you use will determine the finished size of your thread flower. 

Now simply attach your brooch back using needle and thread and pin onto anything you like for a gorgeous whimsical look. 
If you have any questions regarding the making of these cute Thread Flowers please don’t hesitate to comment, email, phone or drop into our store.


 Happy Stitching! Kimz Team x

Wendy Williams Workshop

What a fun 2 days it was having Wendy Williams come into Kimz for a workshop on her Birdsville cushion and quilt.  It was such a delight to have her here and the ladies had a ball learning to applique with wool felt.  There were stacks of photos taken over the 2 days so I have just picked the nicest ones.  Enjoy!
DAY 1

Birds on a Wire quilt by Wendy.

Wendy’s Birdsville Quilt.

Wendy’s Baby Blooms Quilt 

Wendy’s Indian Summer Cushion.

Birdsville Quilt

DAY 2

Wendy has decorated the tops of these Craft Cases with her wool felt creations

The ladies moved onto the tree.

Wendy discussed placement of the flowers.

Everyone’s flowers put together.

Wendy then moved onto how to make the birds

Wendy demonstrating how to make the smaller flower gardens.

Wool felt……yummy!!!!

Pamela’s background piece.

Sorry about all the photos but honestly, I couldn’t leave any of these out.


Happy Stitching! Kimz Team x

Clover Kanzashi Flower Tutorial

I adore making Kanzashi flowers using the Clover flower makers.  Admittedly I haven’t tried making them without the maker but I’m really happy with how easy they are to make this way.
I demonstrate this a lot at the shop so I thought that I would post it on the blog so more people can see how easy this is to do.  There are many videos on how to do this but I have chosen to show you using images so you can go at your own pace.


There are 5 different styles of flower you can make with the makers and 3 different sizes for each style.

I’m going to show you how to make the round petal but the same method applies to each style of petal.


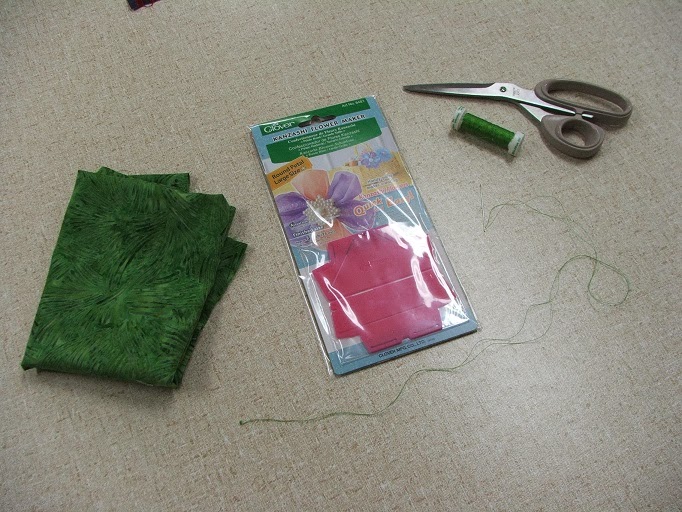
Fabric, Clover maker, needle, thread and scissors.

On one side of your flower maker there will be numbers and a start and finish.  These indicate the sequence in which you will stitch.  This is the outside of the maker.  Cut a square of fabric larger than the size of your opened maker.

  Ensure your fabric is wrong sides together as you fold it in half and placing inside the maker.  The fold of the fabric should be in the fold of the maker.  The maker will clip together holding the fabric in place.

Using your scissors clip the excess fabric from around the maker.

With your needle threaded and a knot at the end of the thread, put your in at the start position.  I see this as the back of the maker when it is folded so flip is over to the front.

Your needle will come up the number 1 slot on the front.

Find the 2 and put the needle into the slot.

Continue bringing your needle up and down as your go through the numbers in order.

Your needle will exit through the finish on the back of the maker.

Remove the maker from the fabric when you have finished stitching.

 Pull the fabric towards the knot forming a petal.  You may need to manipulate the fabric to form the shape of the petal.  Do not cut your thread, you will continue to make all of the petals on this length of thread.

Leaving space between the petal just formed, commence your next petal.

Remove the maker.

Push down this last petal stitch to the first petal and shape.

Keep going forming each petal.

When you are happy with how many petals you have……

Turn your flower over to the back and insert your needle into the first petal.

Make a knot and cut your thread.

Turn back over and shape your petals into your flower.

Add a button or similar to the centre.
Finish off the back by covering the hole with fabric.  Stitch on a brooch back, hair clip or straight onto your item.  These are gorgeous accessories!
Here is a Pointed petal Kanzashi flower made using all 3 sizes with a button glued in front.

Give it a go.  They are simple, fun and fast to make.  You won’t want to stop at one!

Happy Stitching! Kimz Team x